When you sign up to Blaze, a workspace is created automatically with your name. If you’re working in a team, or if you’re part of a company or a project, you would probably want to create a new workspace with a proper name.
Each workspace has its own subscription plan, and by default, it’s set to the free plan. You can upgrade to the paid plans as you increase your usage.
* Note: If your colleagues have already created a workspace for the team, you can ask them to invite you in.
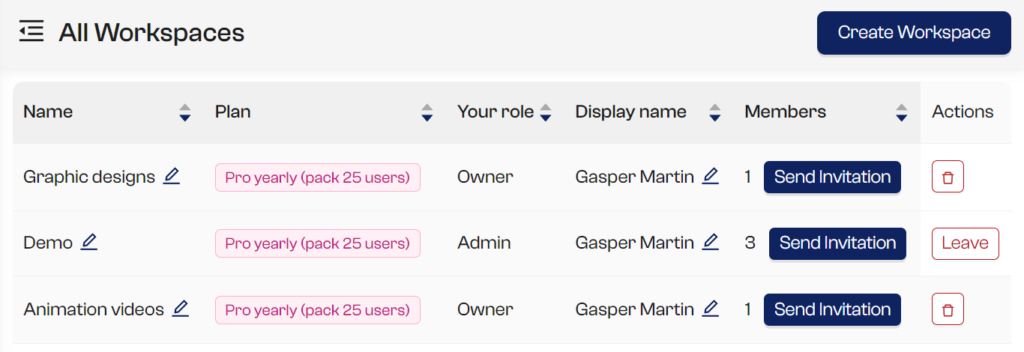
1. All workspaces
To create an account, you need to first access the All Workspace page. Just Hover over your current workspace and select “All Workspaces” from the side menu.

Here, you can see all the workspaces you belong to.
2. Create workspace
Click on the Create Workspace button.
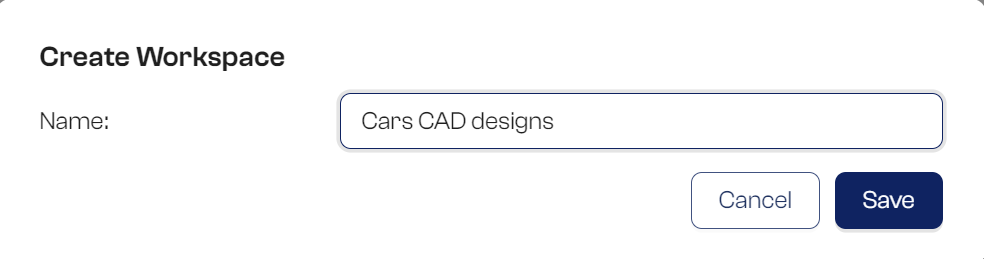
Enter your new workspace name and click save.
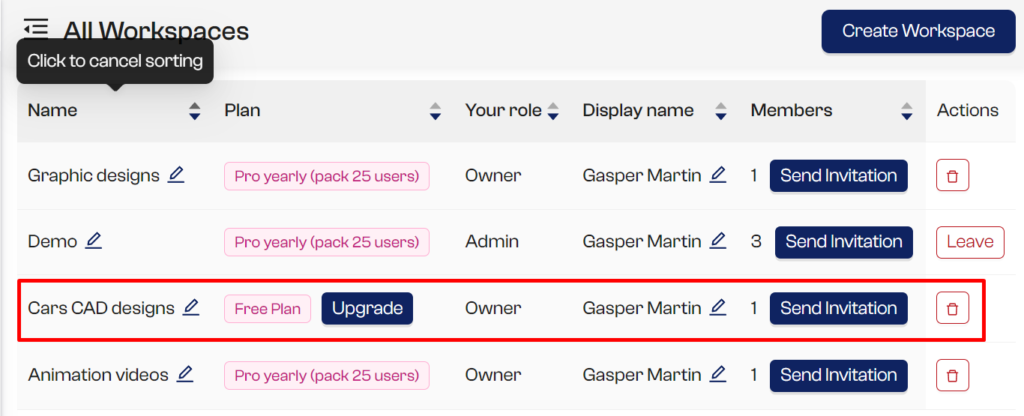
Your new workspace will be added to the list.
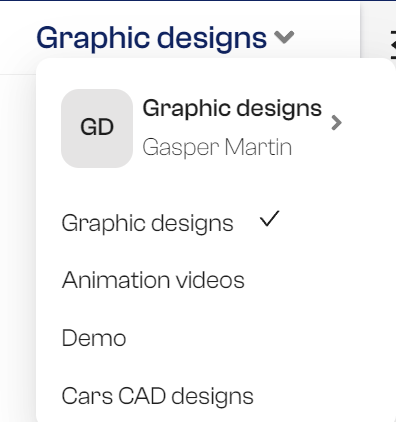
3. Switching workspaces
Before you start using your new workspace, don’t forget to switch. Exit the All Workspace page by moving to another page, such as the Dashboard, then click on the workspace menu to switch between your workspace.
4. Upgrade
By default, your new workspace is on the free plan. In order to unlock certain limitations (members, storage), you can upgrade your workspace to a paid plan.
